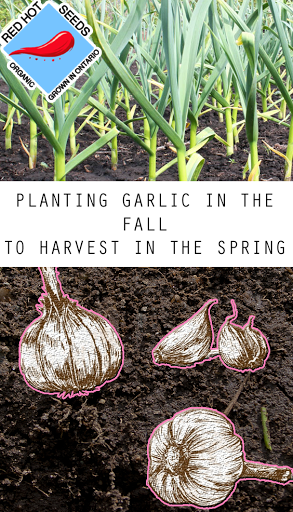
Planting garlic in the fall? But what about the snow and cold winter? That’s no problem for the delicious bulb that is garlic, planting in Mid-October allows your garlic to grow during the fall and spring. So you have nice healthy garlic by late June.
Selecting the Right Garlic
When choosing garlic, you want to ensure you pick varieties that will survive your climate. For Northern USA and Canada, you’ll want to choose a Hard neck variety.
Hard neck refers to the garlic's literal hard neck, these varieties do best in colder winters and withstand quite cold winters.
If you live somewhere with mild winters that stay just below freezing, you can probably go with a soft neck variety.
As a rule of thumb, you should always choose organic local garlic. This ensures the garlic is grown locally and can withstand your climate. Some people use Seed Garlic from online vendors, however, I feel it can be quite expensive to go down that route.
Simply go to your local grocer or farmers market and buy some healthy bulbs of garlic
What You Need
Going forward I will be discussing the process of planting Hardneck garlic in cooler climate. However planting softneck garlic is an almost similar process that is made easier by the mild winter.
You’ll need:
- A Screw driver or stick, to make holes for the cloves
- A Pitchfork, to properly break up the earth
- Three Bowls, to sort your garlic
- Straw, either a small bale or a bag to mulch the planted garlic
-
Preparing the Soil

You’ll want to find a part of your garden where the garlic can grow up until the end of June.
Raised beds work perfectly for growing garlic.
First, start by weeding and removing any plant material from the section.
Next, break up the soil with your Pitchfork. Giving the Garlic a nice loose base to begin growing
This is a prime time to add in any organic plant material or a light amount of fertilizer to the garden.
- Sorting Garlic
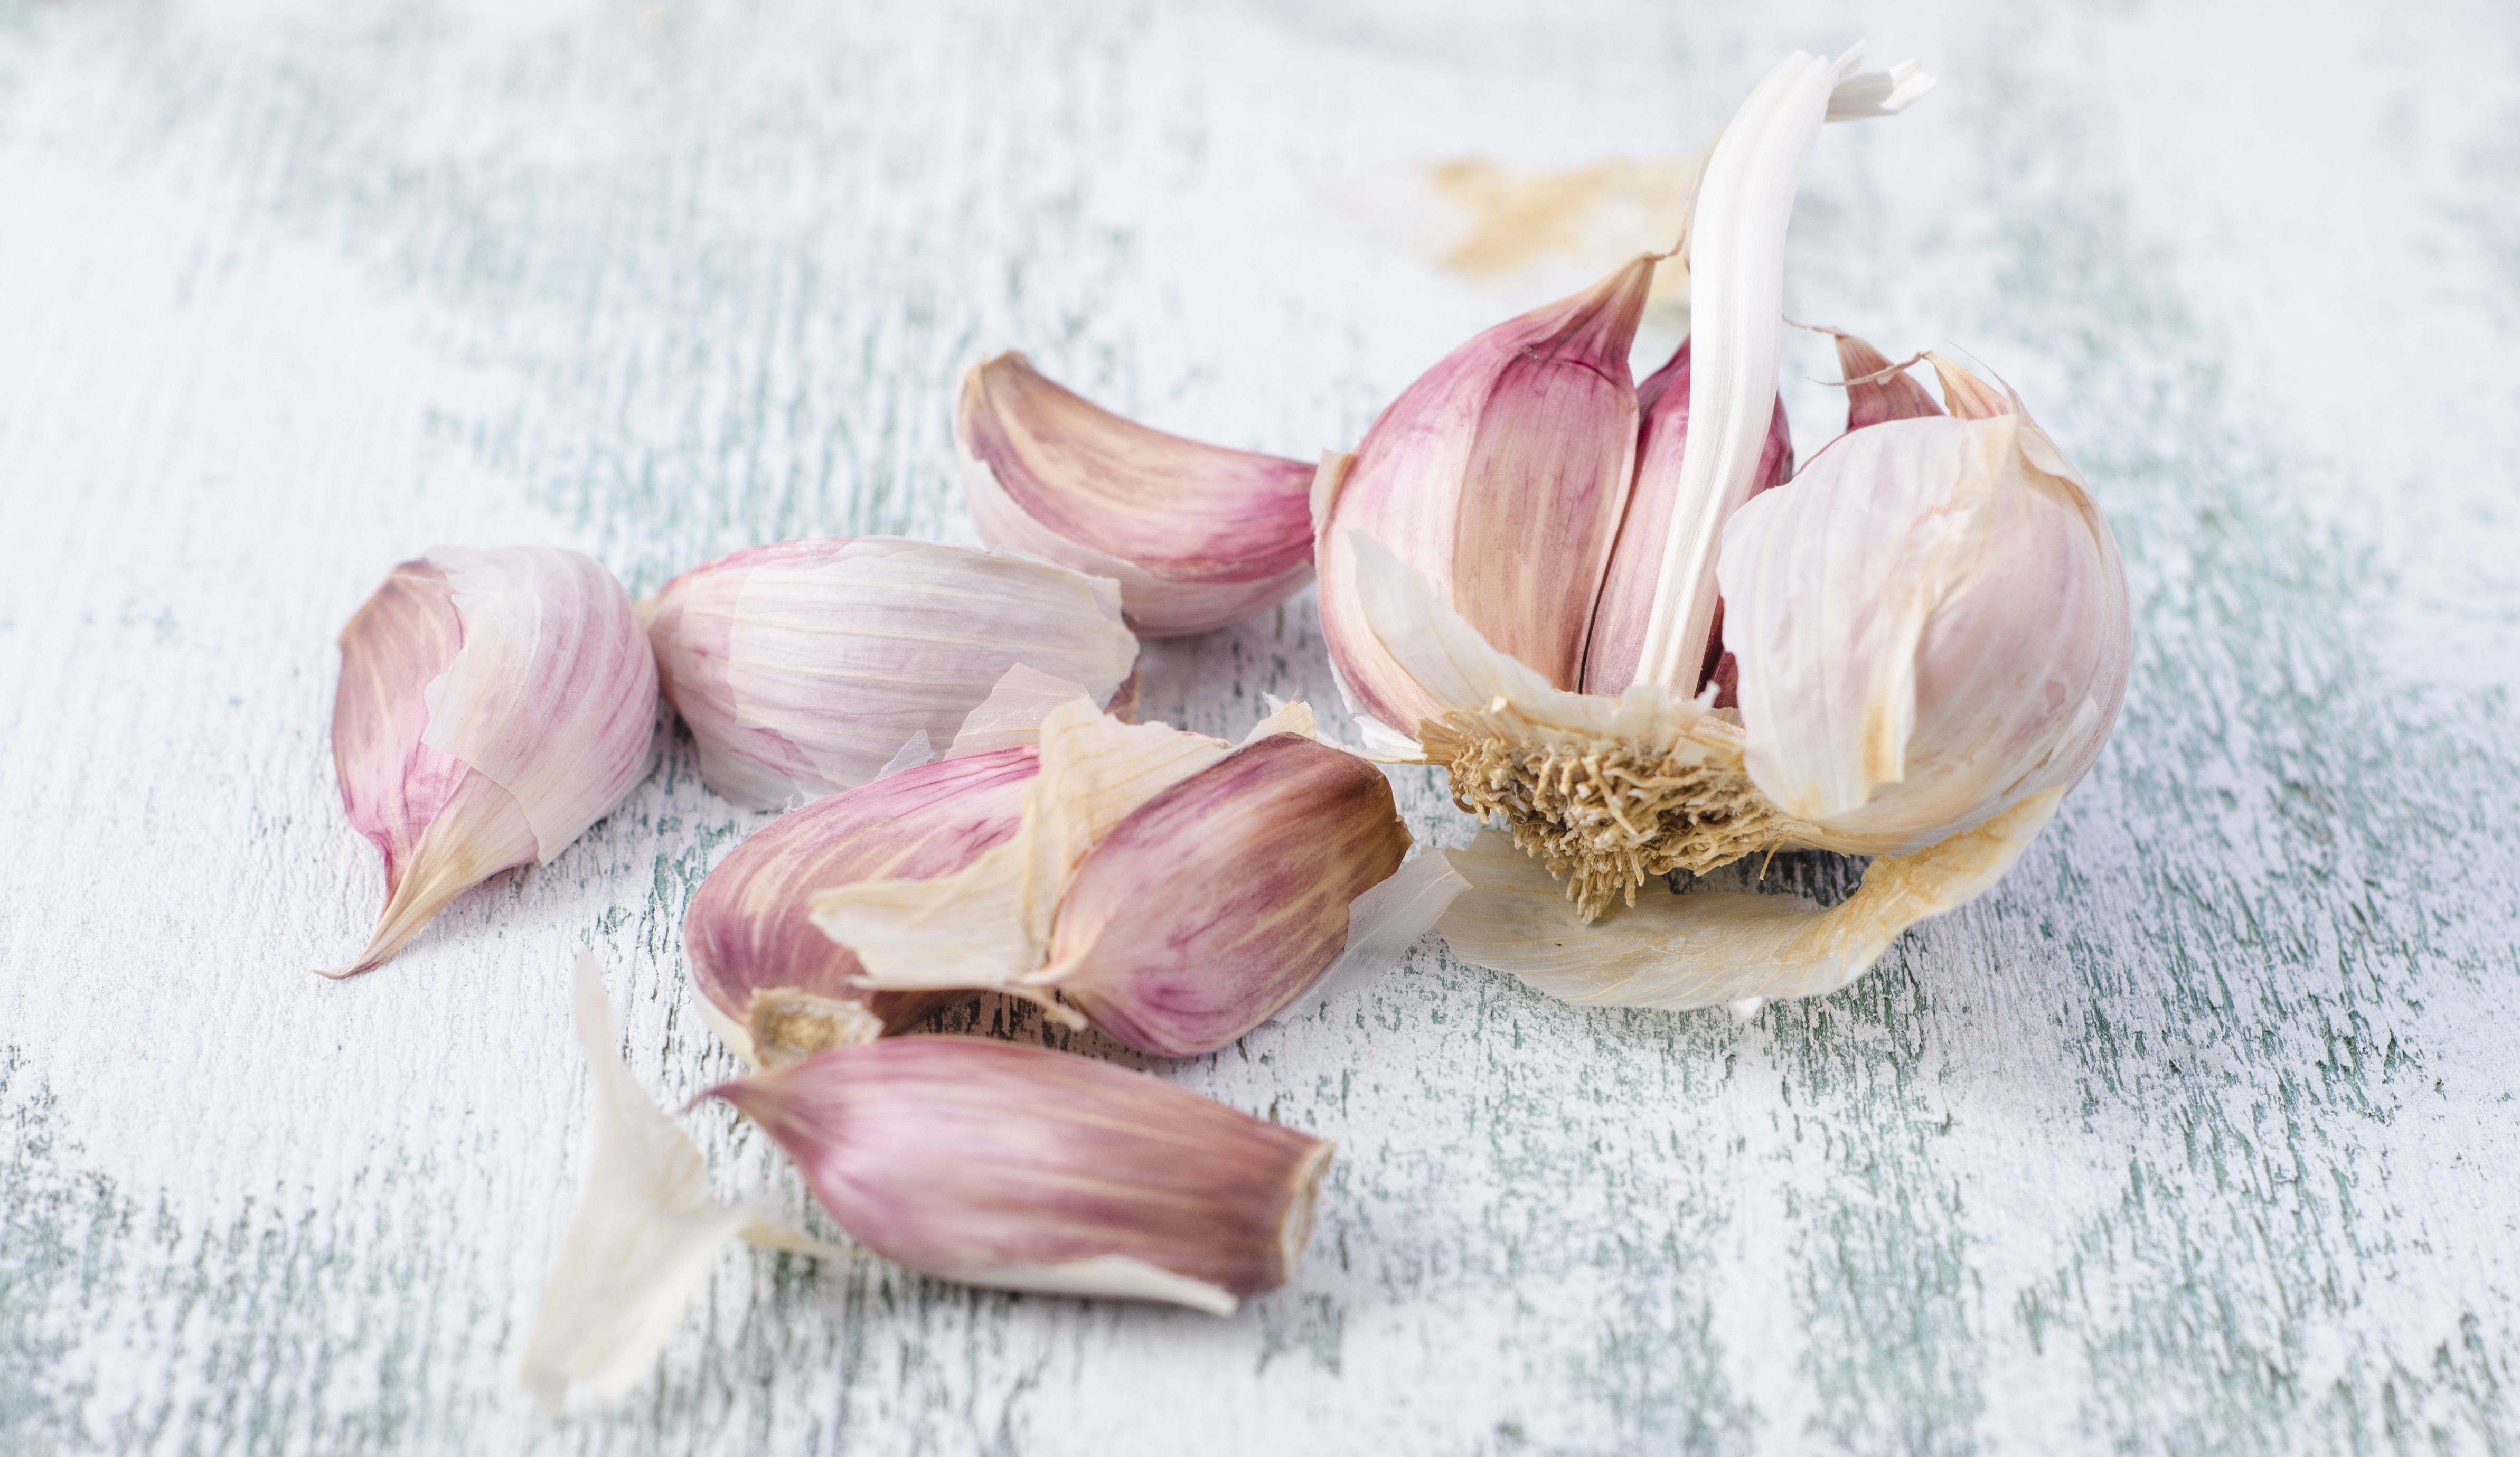
You’ll want to take your Garlic and break it up into individual cloves.
Careful not to take too much of the outer skin from the garlic, as this helps to protect the clove.
Sort out all small cloves and put them in one of the three bowls.
These will be perfect for cooking, as small cloves produce small bulbs of garlic.
Next, keep all large cloves of garlic to maximize your harvest next year, sorting into the second of the 3 bowls.
Finally, put all excess garlic matter into the third bowl, you can either use this as mulch or simply toss it into the compost.
- Planting
:max_bytes(150000):strip_icc()/112708602-56a6d3763df78cf772907115.jpg)
Garlic is great, not only can it grow across 2 seasons, but it can be planted fairly close together.
You’ll want to plant your garlic around 2-3 weeks before your last frost date. Too soon and they will grow too large and be damaged by the frost.
Too late and they will not benefit from the fall season and may rot during spring.
First, make some holes about 2-3” deep in the soil, either with your finger or a screwdriver.
Space these holes out, about 5-6” from the center of each hole.
This isn’t an exact science so don’t worry if you mess it up
Next, all garlic cloves have a pointed side and a flat side.
Place the FLAT side down towards the grown, with the pointed end facing up.
The flat side is where the roots grow.
Finally, cover the garlic with a layer of soil to ensure they are protected all winter.
You’ll now want to even place your straw on top of the planted garlic.
This straw helps to insulate the garlic during the winter and protect it from harsh temperature fluctuations in the spring
- Growing
You should water your garlic a handful of times during the fall. If you see small sprouts, don’t worry these wont be damaged by the winter.
However, once spring comes around you should begin to those little sprouts grow larger as the days get longer. Begin to water your garlic again twice a week.
Garlic requires little attention during its growth and is fairly easy to take care of.
One thing to note is Scapes.

Scapes are the flowering section of the plant and should be cut off to prevent energy being diverted from the growth of the bulb.
Scapes are delicious and can be fried in a pan or used in cooking similar to green onion.
- Harvest
So you’ve been patient, you only checked a few bulbs throughout the season. ( I know it's hard to resist looking under the soil)
The general rule is, garlic is ready to harvest when the Bottom THIRD of the leaves are yellowed/dead.

These leaves represent layers of the garlic skin, if not enough leaves are brown the garlic is too young and still has room to grow.
If you let too many leaves die off, the garlic may begin to grow and split beneath the soil.
With hardneck garlic it is fairly easy to pull them directly out of the soil.
I would advise against using a pitchfork to avoid damaging bulbs. A screwdriver or small fork is sufficient in loosening soil.
It is important to note, DO NOT clean your garlic if you plan on storing it, Cleaning your garlic compromises the outer layers of skin and reduces the amount of time it can last.
Storing
This garlic is ready to be cooked, and there is nothing wrong with using a few bulbs right away.
However for most this is simply too much garlic to eat all at once.
Store your garlic by braiding or bundling it together, then hang in a DRY SHADED area for 4 WEEKS.
This allows sufficient time for the garlic to dry out and be ready for proper storage.
After drying you can either freeze bulbs or put them in your fridge/ cupboard.
(Braided Garlic Hanging in a garage. Bundles can be large or small)
Most garlic should last around 6 to 8 months like this. (But really it can last longer)
That’s it, the comprehensive guide to growing your own garlic. Super Simple and Incredibly Rewarding!
Connect With us
Let us know what you think.
Do you love garlic as much as us?
You can contact us on social media, in any of the links on the left-hand side.
As well feel free to check out our Etsy, also linked on the left hand side, where we sell organic high quality pepper seeds.
Happy Planting!